Introduction
Wondering how to install a smart thermostat yourself?
Good news—most smart thermostats are designed for DIY installation, and many homeowners can complete the process in around 30–45 minutes.
If you’re replacing a basic thermostat, have a few tools, and follow the steps carefully, you can avoid paying $100–$200 for installation.
There’s also a real benefit. ENERGY STAR says certified smart thermostats can save about $50 per year on average, and up to $100 per year in homes with higher heating and cooling usage.
In this guide, you’ll learn:
- how to install a smart thermostat step-by-step
- what tools you need
- what to do if you don’t have a C-wire
- how to troubleshoot common issues
Who This Guide Is For
This guide is for you if:
- You want to install a smart thermostat yourself
- You’re upgrading from a manual or programmable thermostat
- You want to save money on installation
- You’re unsure about wiring or compatibility
Before You Start: Compatibility Check
Before installing, check these three things.
1. Your HVAC System
Most smart thermostats work with:
- Furnace + central AC systems
- Heat pumps (check compatibility)
Some systems require special thermostats:
- Electric baseboard heating
- Ductless mini-splits
If you use a heat pump, see our Best Thermostat for Bosch Heat Pump guide.
2. Do You Have a C-Wire?
A C-wire provides continuous power.
- Have one → installation is easier
- Don’t have one → still fine (see solutions below)
Ecobee thermostats include a Power Extender Kit (PEK) for homes without a C-wire.
3. Check Compatibility Before Buying
Always confirm using the brand’s compatibility checker:
Watch: Smart Thermostat Installation Overview
If you prefer a visual walkthrough, this video shows the full installation process step-by-step.
Tools You’ll Need
- Phillips screwdriver
- Flathead screwdriver
- Smartphone (for photos)
- Level (optional)
- Drill (if needed)
- Wire labels (included with most thermostats)
Your phone camera is the most important tool—don’t skip using it.
Step-by-Step: How to Install a Smart Thermostat
⚠️ Safety Tip
Always turn off power at the breaker before touching thermostat wiring.
Even low-voltage systems can damage your HVAC system if wired incorrectly.
Step 1: Turn Off Power
Turn off power at the breaker to your HVAC system.
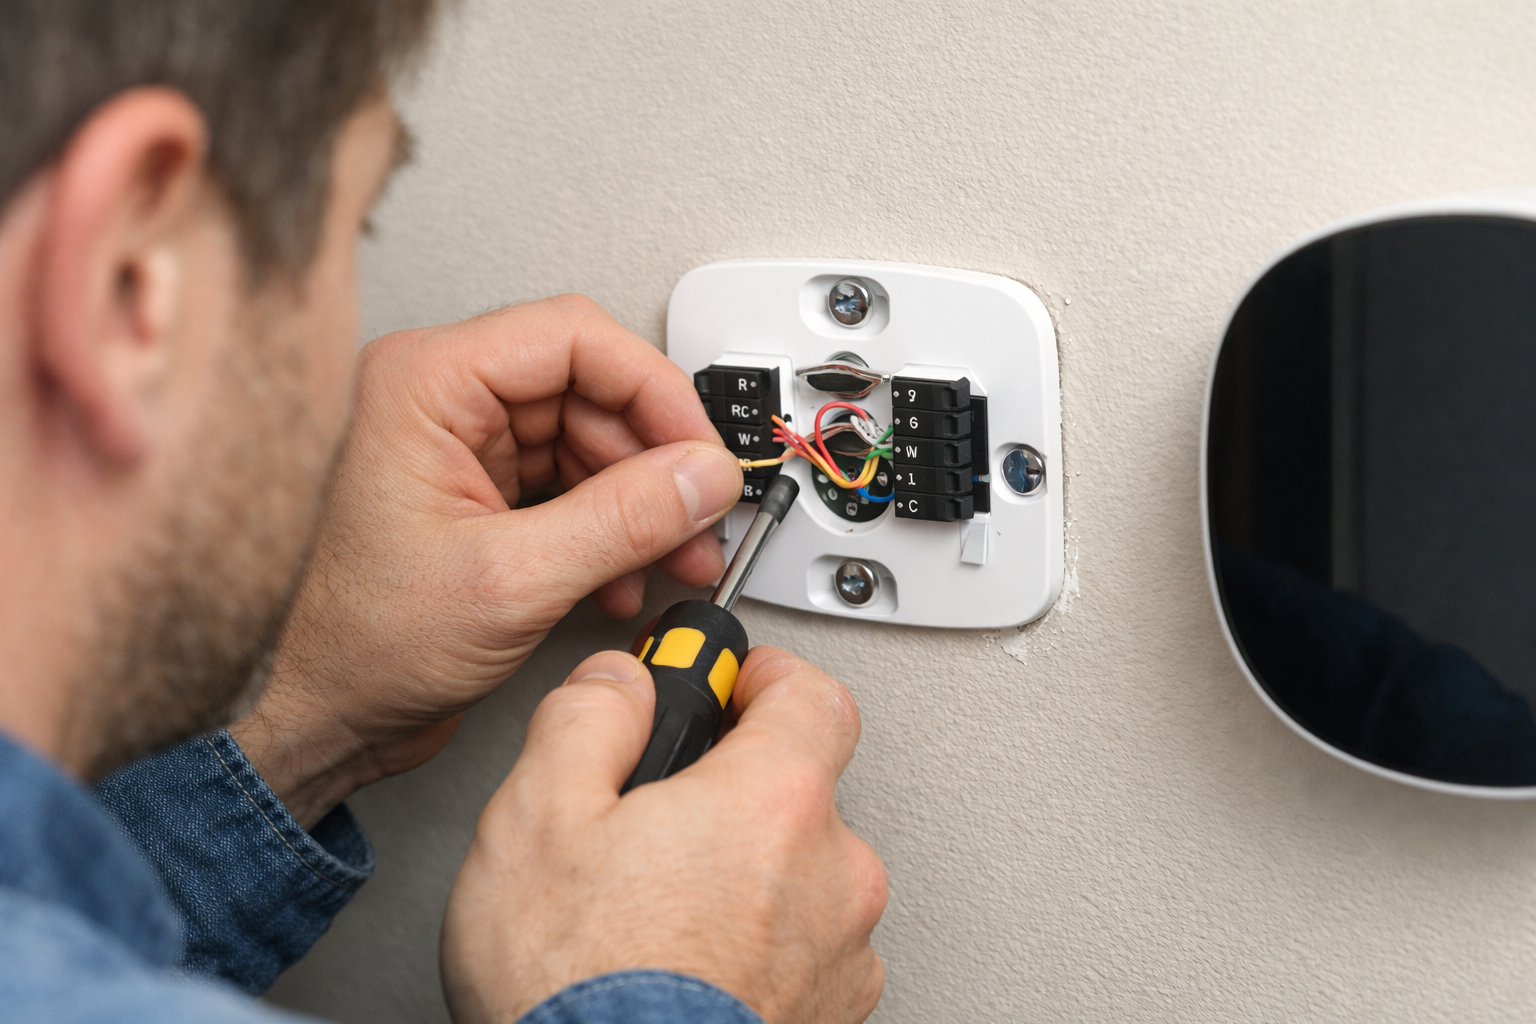
Step 2: Remove Old Thermostat
- Remove faceplate
- Unscrew base
- Gently pull wires forward
Example of smart thermostat wiring (this is what yours should look similar to).
Step 3: Take a Photo of Wiring
Take a clear photo showing:
- Wire colors
- Terminal labels
This is your backup if anything goes wrong.
Step 4: Label the Wires
Use included labels and match terminals:
- R, Rc, Rh
- W (heat)
- Y (cooling)
- G (fan)
- C (common)
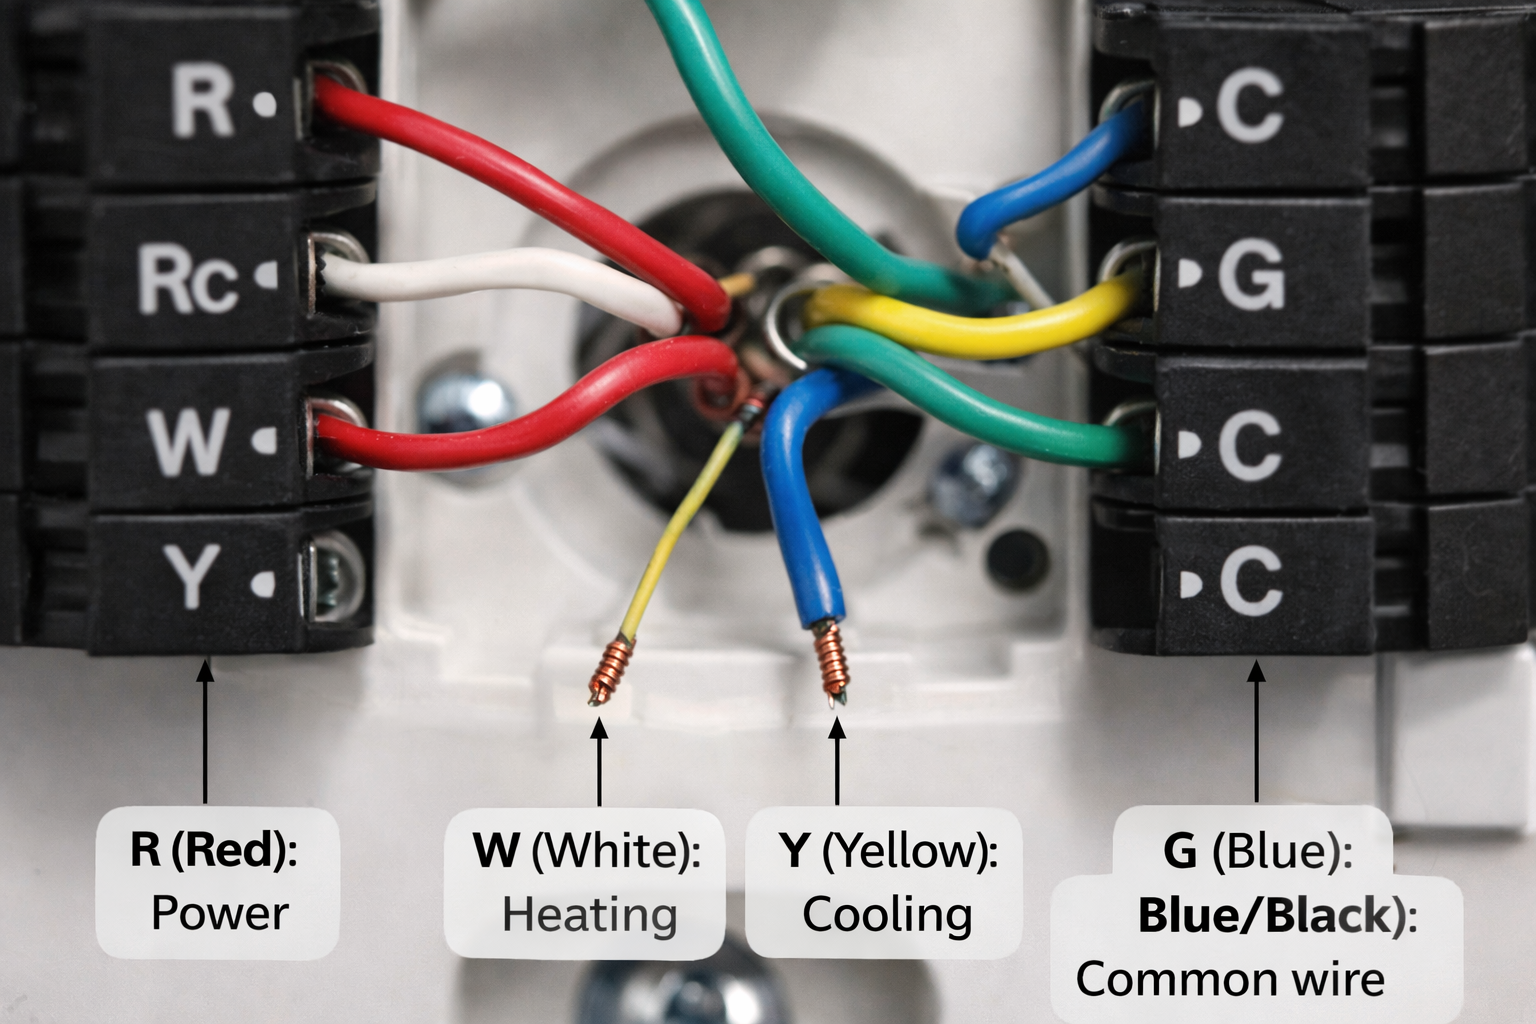
How to Identify Your Thermostat Wires
Not sure what each wire does?
Here’s a quick guide:
- R (Red): Power
- W (White): Heating
- Y (Yellow): Cooling
- G (Green): Fan
- C (Blue/Black): Common wire
⚠️ Wire colours are not always standard—always rely on terminal labels.
Step 5: Remove Old Baseplate
Unscrew and remove the old mounting plate.
Step 6: Install New Baseplate
- Feed wires through
- Level the base
- Screw into wall
Step 7: Connect Wires
Match wires to terminals exactly.
Common setup:
- R → Power
- W → Heat
- Y → Cooling
- G → Fan
- C → Common
Double-check against your photo.
⚠️ Common Wiring Mistakes to Avoid
Even small mistakes can stop your system from working.
- Connecting wires to the wrong terminals
- Loose connections
- Forgetting the C-wire (if required)
- Exposed wire touching other terminals
Always double-check your setup before turning power back on.
Step 8: Attach Display
Snap or mount the thermostat onto the base.
Step 9: Restore Power
Turn the breaker back on.
This is what your smart thermostat should look like once installation is complete.
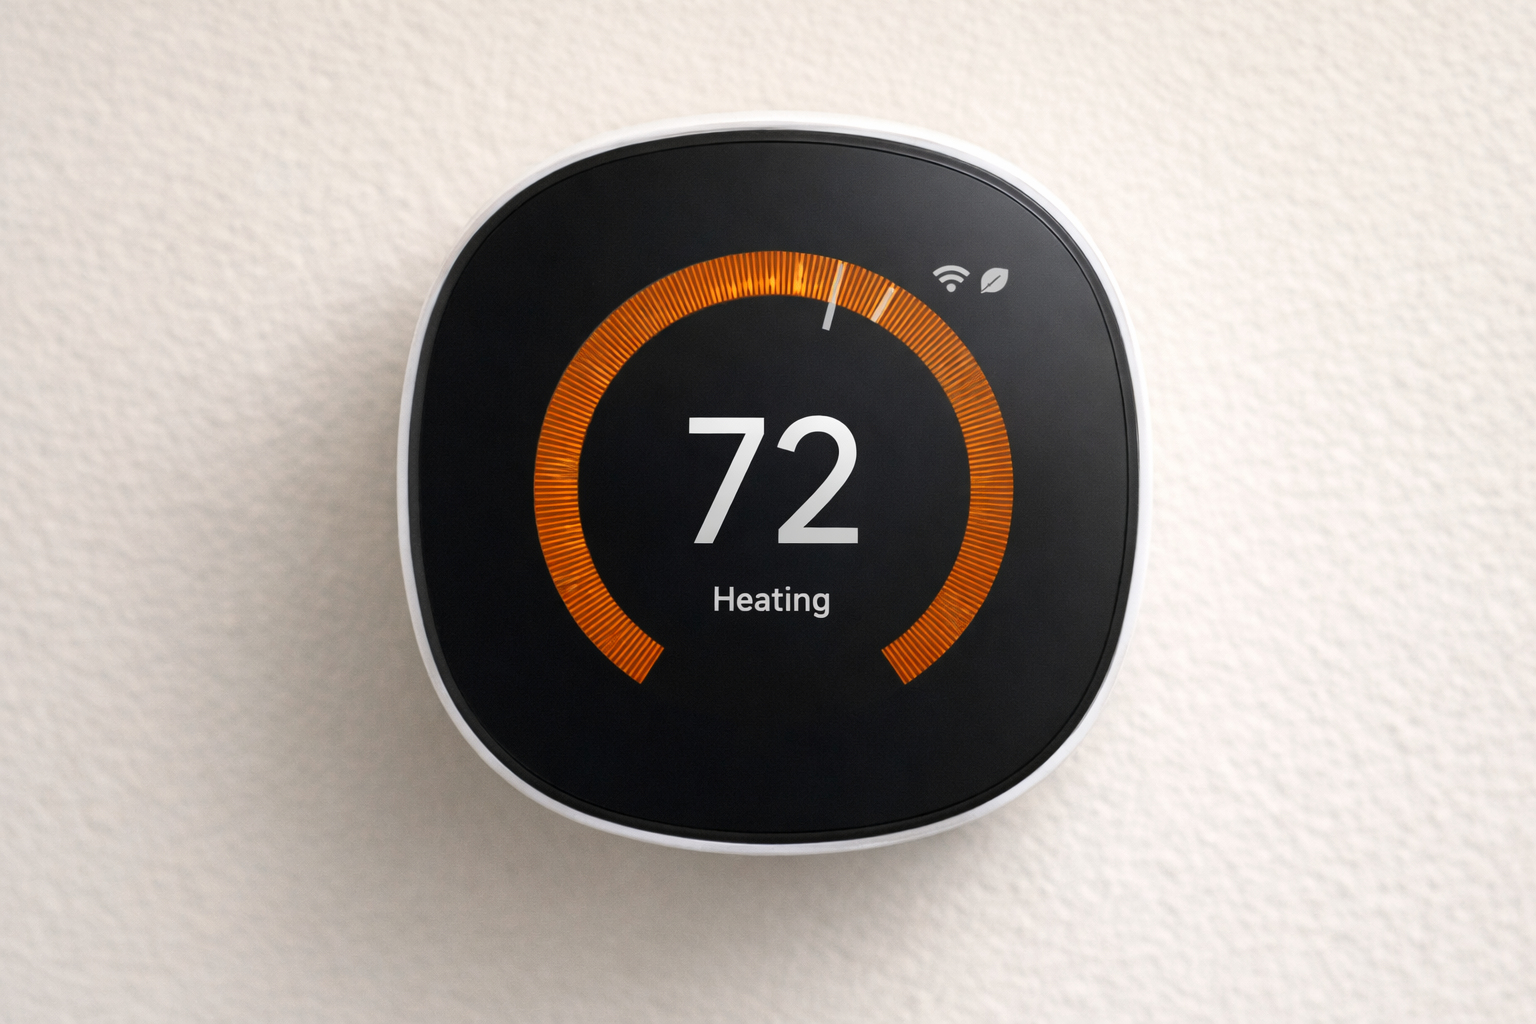
Your thermostat should power up.
Step 10: Connect to Wi-Fi
- Download the app
- Connect to Wi-Fi
- Complete setup
No C-Wire? Here’s What to Do
Not having a C-wire is common.
Option 1: Use a Battery-Powered Thermostat
Some Nest models work without a C-wire.
See our Google Nest Thermostat Review
Option 2: Use ecobee Power Extender Kit
Installs at your furnace and solves the issue.
📺 No C-Wire? Watch This
This video shows how to install a smart thermostat without a C-wire.
Option 3: Use a C-Wire Adapter
Affordable and effective for many homes.
Option 4: Install a New C-Wire
Best long-term solution (may require professional help).
Common Installation Problems
Thermostat Not Turning On
- Check breaker
- Check wiring
- Confirm power connection
HVAC Not Responding
- Re-check wiring
- Wait a few minutes (system delay)
Wi-Fi Issues
- Restart router
- Use correct network
- Move closer
Temperature Incorrect
- Avoid sunlight
- Avoid drafts
- Check placement
When to Call a Professional
Call a pro if:
- You have a complex HVAC system
- You’re unsure about wiring
- You need a new C-wire
- The system isn’t working after install
Incorrect setup can cause HVAC issues, so don’t risk it if unsure.
What Happens After Installation?
Once installed, your smart thermostat will:
- Learn your schedule or allow custom scheduling
- Let you control temperature remotely
- Help reduce energy waste automatically
Over time, this improves comfort and lowers energy bills.
Frequently Asked Questions
Can I install a smart thermostat myself?
Yes, most homeowners can.
How long does it take?
Typically 30–45 minutes.
Do I need a C-wire?
Not always—many solutions exist.
What if I wire it wrong?
Use your photo to correct it.
Final Thoughts
Learning how to install a smart thermostat is one of the easiest DIY upgrades you can make.
Quick recap:
- Turn off power
- Remove old thermostat
- Take a photo
- Label wires
- Install base
- Connect wires
- Attach display
- Restore power
- Connect to Wi-Fi
If your system is simple, you can do it yourself. If not, a professional is worth it.
Products Mentioned
- Google Nest Thermostat
- Google Nest Learning Thermostat
- ecobee Smart Thermostat Premium
- ecobee Smart Thermostat Enhanced
- Honeywell Home T9