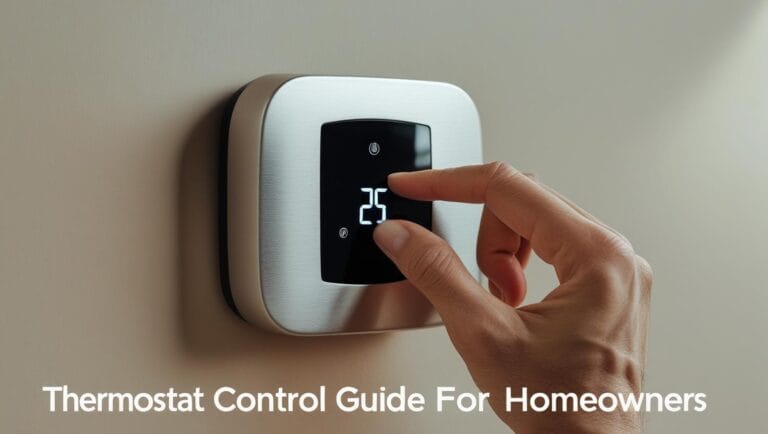
A Homeowner’s Guide: How to Set, Change, Lock & Reset Your Thermostat
Take full control of your home’s climate and energy bills. This practical guide walks you through everything from setting temperature limits to DIY thermostat replacement, locking smart devices, and more.
Quick How-To’s
- To Reset a Thermostat: For simple models, remove the batteries for 30 seconds. For smart models, use the factory reset option in the settings menu.
- To Change a Thermostat: Turn off power at the breaker, label the wires, then connect the new thermostat following the same wiring scheme.
- To Lock a Nest: In the Nest app or on the device, go to Settings > Lock, and set a 4-digit PIN.
- To Lock an Ecobee: In the Ecobee app or on the device, go to Main Menu > Settings > Access Control to enable a security code.
Optimizing Your Settings: How Low Can I Set My Thermostat?
This question has two answers: one for energy savings and one about the device’s physical limits.
For Energy Savings (Recommended Lowest Setting)
To save money and energy, the U.S. Department of Energy recommends setting your thermostat to 68°F (20°C) during the winter when you are home and awake. You can set it even lower when you are asleep or away. Setting it back 7°-10°F for 8 hours a day can save up to 10% a year on heating costs.
Technical Limits (How Low Can a Thermostat Go?)
Most residential thermostats have a minimum temperature setting of around 45-50°F (7-10°C). This isn’t for comfort, but for safety. This setting, often called “Away” or represented by a snowflake icon, is designed to prevent your home’s pipes from freezing and bursting during a winter cold snap while you’re away.
Troubleshooting 101: How Can You Reset a Thermostat?
Before you assume your thermostat has gone bad, a simple reset can often solve issues like a blank screen or unresponsiveness.
- For Non-Programmable/Simple Digital Thermostats: Many have a small, recessed reset button you can press with a paperclip. If not, simply removing the batteries for about 30 seconds will often reset the device.
- For Smart Thermostats (Nest, Ecobee, etc.): You should perform a factory reset through the device’s menu. Look for an option like “Reset All Settings” or “Factory Reset” in the main settings area. Be aware this will erase all your schedules and Wi-Fi information.
Smart Controls: How to Lock Your Nest & Ecobee Thermostat
Locking your thermostat is the perfect way to prevent unwanted adjustments from guests, tenants, or kids, ensuring your energy-saving schedule stays intact.
How Can I Lock My Nest Thermostat?
- On the Nest Thermostat: Press the thermostat ring to open the menu. Turn the ring to Settings and press to select. Go to Lock.
- Set a PIN: The device will prompt you to create a four-digit PIN.
- Set Temperature Range: After setting the PIN, you can define a minimum and maximum temperature range. No one will be able to set the temperature outside this locked range without the PIN.
How Can I Lock My Ecobee Thermostat?
- On the Ecobee Thermostat: Tap the Main Menu icon (☰) on the screen. Go to Settings, then tap Access Control.
- Enable Security Code: You’ll be prompted to enable and create a 4-digit security code.
- Set Permissions: After enabling the code, you can customize what is locked. You can restrict access to temperature settings, schedules, and other system settings.
When to Upgrade: How Can a Thermostat Go Bad?
A faulty thermostat can cause discomfort and high energy bills. Knowing the signs of when a thermostat goes bad can tell you when it’s time for a replacement.
- It loses power constantly: Frequent battery changes or a blank screen suggest a wiring or unit failure.
- Its readings are wrong: If the displayed temperature is clearly different from the actual room temperature.
- It causes “short cycling”: Your A/C or furnace turns on and off every few minutes.
- It doesn’t respond: The system doesn’t turn on or off when the temperature changes.
DIY Project: How Can I Change My Thermostat?
Changing a thermostat is a common DIY project that many homeowners can handle. Follow these steps carefully.
SAFETY FIRST: Turn Off the Power
Before you touch any wires, go to your home’s circuit breaker box and turn off the power to your HVAC system (furnace and air conditioner). Failure to do so can result in electrical shock and damage to your equipment.
- Remove the Old Unit: Gently pull the old thermostat’s faceplate off the wall plate.
- Label the Wires: This is the most important step! Use the small stickers that come with your new thermostat (or masking tape) to label each wire according to the terminal it’s connected to (e.g., R, C, G, Y, W) before you disconnect them. Take a picture with your phone for reference.
- Remove the Old Wall Plate: Unscrew the old plate from the wall and gently pull it away.
- Mount the New Wall Plate: Thread the wires through the center of the new plate and screw it to the wall. Use a small level to ensure it’s straight.
- Connect the Wires: Match the labeled wires to the corresponding terminals on the new thermostat plate and tighten the screws.
- Attach the New Thermostat: Push the new faceplate firmly onto the wall plate until it clicks into place.
- Restore Power: Go back to your breaker box and turn the power back on. The new thermostat should power up.
Remodeling? How Can I Move My Thermostat?
Moving a thermostat is often necessary during a renovation or if it’s in a poor location (like in direct sunlight). The biggest challenge is extending the low-voltage thermostat wires to the new location.
Is it worth it?
Moving a thermostat to a central location away from drafts and direct heat sources can significantly improve its accuracy and your home’s comfort, making it a worthwhile project.
This task is more advanced than a simple replacement. You will need to carefully splice the existing wires using a thermostat wire extender kit or by running a new bundle of wire from the HVAC unit to the new location. Due to the complexity, many homeowners choose to hire an HVAC technician or electrician for this job.


